
How I Whiten Gray Cement All for My Concrete Candle Vessels
Share
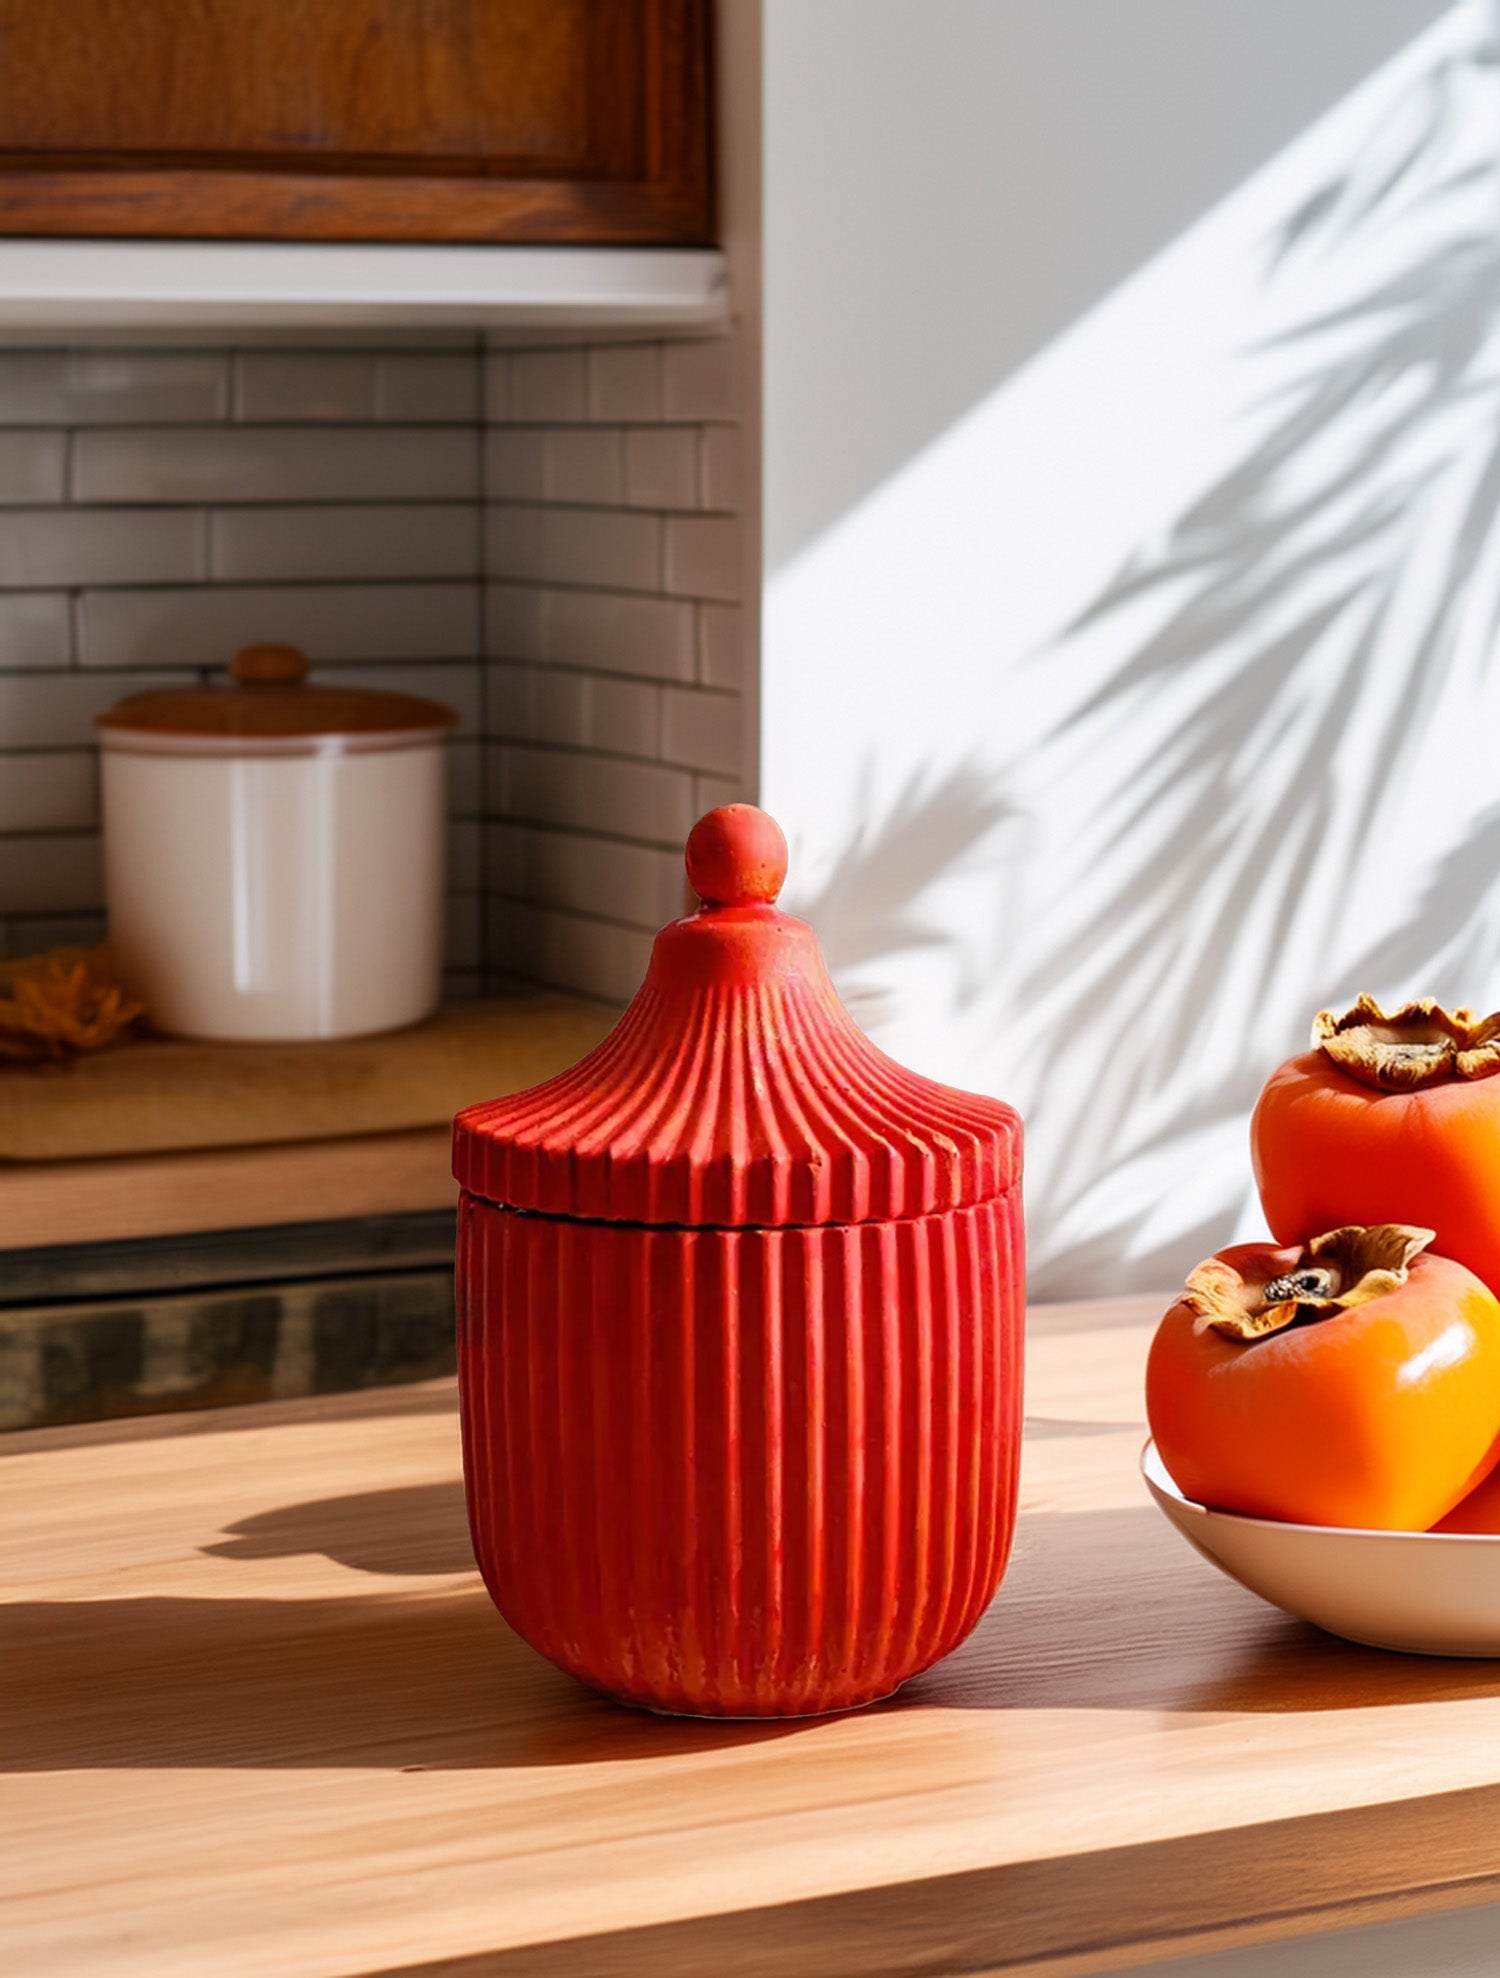
When I first started making concrete candles, I loved the durability and modern aesthetic of Cement All. But there was one thing that always bugged me—the gray color. Don’t get me wrong, gray can be stunning, but sometimes I want a clean, bright white finish that makes my candles look sleek and polished. If you're like me, you’ve probably wondered how to whiten gray Cement All for concrete candles without compromising the strength and texture of the material., you’re in the right place.
After plenty of trial and error, I’ve found that a white cement wash is the best solution. In this guide, I’ll walk you through how I lighten my concrete vessels, the best bonding agents to use for long-lasting results, and extra techniques to get a beautifully consistent finish.
What is a White Cement Wash, and Why Use It?
A white cement wash (also called a white slurry coat) is a thin, paint-like mixture of white Portland cement, water, and sometimes titanium dioxide (a whitening agent). Instead of trying to mix white pigment directly into your concrete (which doesn’t always work well), a cement wash sits on the surface and helps brighten the color.
Why I Love Using a White Cement Wash:
- It brightens gray cement without needing to switch to expensive white cement.
- It creates a polished, uniform finish on my vessels.
- It’s versatile—I can create smooth, marbled, or textured looks.
- It adds a layer of durability when paired with a sealer.
The Best Way to Whiten Gray Cement All for Candle Vessels
At first, I thought adding titanium dioxide (TiO₂) directly to my concrete mix would give me a bright white finish. While it helped a little, it wasn’t enough because gray Cement All contains iron oxides, which dull the whitening effect.
So instead, I apply a white cement wash after the vessels have cured. Curing is important because it allows the cement to reach its full strength and durability. If you apply the wash too soon, moisture trapped in the concrete can affect adhesion and lead to peeling or uneven coverage. This gives me complete control over the color and ensures a more consistent, long-lasting result.
How to Make and Apply a White Cement Wash to Concrete Candle Vessels
What You’ll Need
- White Portland cement (or Cement All if you prefer)
- Water
- Titanium dioxide powder (optional, for extra brightness)
- Acrylic bonding agent (helps the wash stick better)
- Small paintbrush, sponge, or soft cloth
- Mixing container
- Sealer (matte or glossy, heat-resistant)
Step 1: Prep Your Concrete Vessels
Before applying the wash, make sure your vessels are fully cured. A good way to check is by gently tapping the vessel—if it sounds hollow and feels dry, it's likely cured. Additionally, the color should be uniform, and the surface should no longer feel damp or cool to the touch. (usually 24–48 hours after demolding). Then:
- Lightly sand the surface with fine-grit sandpaper to smooth out rough patches.
- Wipe with a damp cloth to remove any dust.
Step 2: Mix the White Cement Wash
In a mixing container, combine:
- 2 parts white cement
- 1 part water
- 5-10% titanium dioxide (by cement weight) for extra brightness
- A few drops of acrylic bonding agent for better adhesion
- Stir until it’s smooth and lump-free, with the consistency of thin paint.
Step 3: Apply the Cement Wash
- Use a soft paintbrush for an even coat.
- For a textured effect, dab with a sponge or cloth.
- Work in thin layers to avoid drips or cracks.
- Let each coat dry for 1-2 hours before adding another.
- Apply 2-3 coats for full coverage.
Step 4: Cure and Seal
-
Let the vessels cure for at least 24 hours.
-
Sand lightly if you want an extra-smooth finish.
-
Apply a clear, heat-resistant sealer to protect against moisture absorption.
You’ll need a bonding agent
If you want your white cement wash to last, you’ll need a bonding agent. Bonding agents help the cement wash adhere more effectively to the concrete surface, reducing the chances of peeling, cracking, or flaking over time. They work by creating a stronger connection between the wash and the vessel, ensuring a smoother and more even application. Without one, the wash can flake or peel over time.
Best Non-Toxic Bonding Agents for Concrete Candle Vessels
-
Acrylic Bonding Agent (Best for Strength & Durability)
- Prevents cracking and peeling.
- Recommended: Quikrete Concrete Bonding Adhesive, Weld-Crete.
-
PVA Bonding Agent (Concrete-Specific Formulation)
- Works better than standard PVA glue.
- Recommended: Cementone PVA Bonding Agent.
-
Concrete Fortifiers (For Extra Durability & Water Resistance)
- Adds flexibility and longevity.
- Recommended: SikaLatex R Concrete Fortifier, DAP Concrete Bonder & Fortifier.
Final Tips for Achieving the Best White Finish
Here are a few extra things I’ve learned through trial and error:
- For a more opaque white: Apply multiple thin coats instead of one thick coat.
- For a marbled effect: Swirl a little gray or black cement wash into the white.
- For a glossy finish: Use a high-gloss, food-safe concrete sealer.
- For a raw, matte look: Skip the sealer, but be aware that the surface may absorb wax or fragrance oils.
Using a white cement wash with the right bonding agent has completely changed the way I make my candle vessels. Now, I get bright, uniform, professional-looking finishes every time. If you’ve been struggling with gray Cement All and want a way to get pure white vessels, give this method a try!
Have questions or need product recommendations? Share your experiences or tips in the comments—I’d love to hear how your concrete vessels turn out! Drop them in the comments—I’d love to help!