
How to Make Concrete Candle Vessels with Unique Textures and Finishes
Share
When I first started making concrete candle vessels, I was all about function—just trying to create strong, durable containers that wouldn’t crack or crumble. But after my first few batches, I noticed something was missing.
My vessels worked fine, but they looked plain and uninspired. I wanted them to have personality, to feel special. That’s when I started experimenting with textures, colors, and finishes, and everything changed.
But I quickly realized that texture, color, and finish play a huge role in making a vessel stand out. If you've ever looked at your concrete pieces and thought they needed more personality, you're not alone.
The right finishing techniques can define your brand, set your products apart, and create a sensory experience that customers love. Whether you're going for sleek and modern, raw and rustic, or colorful and artistic, experimenting with textures, pigments, and specialty finishes can take your work to the next level. In this guide, I'll share the techniques I use to create stunning, unique concrete candle vessels that not only look great but feel amazing in hand.
Achieve a Smooth, Polished Finish
A smooth, glossy surface gives your concrete vessels a modern, high-end feel—almost like polished stone or ceramic. But achieving that perfect smoothness takes more than just the right mix.
How to Get a Polished Finish:
- Use a fine cement mix – Look for high-performance or ultra-fine cement like Cement All for a naturally smoother finish.
- Add a plasticizer – This helps the mix flow better, reducing air pockets.
- Use a high-quality mold – Silicone molds with a glossy interior give the best smooth finish.
- Wet sand after curing – Use fine-grit sandpaper (400-600 grit) and water to buff the surface to a glass-like shine.
🔹 Example: If you want a vessel that feels as smooth as ceramic, try applying a thin coat of a high-gloss concrete sealer after sanding.
Create a Matte or Raw Concrete Look
A matte, natural concrete finish adds an industrial and organic feel to your vessels. If you love the raw, unfinished look, follow these steps:
How to Get a Natural Matte Finish:
- Use minimal water – A slightly drier mix reduces shine and gives a more textured surface.
- Use rougher molds – Molds made from wood or fabric create subtle texture.
- Skip the sealer (or use a matte sealer) – Sealers enhance durability but can add sheen. Use a matte-finish sealer to maintain the raw look.
- Hand-sand lightly – Skip wet sanding and instead use a dry sanding block for a soft, natural texture.
🔹 Example: Want an industrial-style finish? Try making a vessel using a recycled cardboard mold—it leaves subtle imperfections that add character.
Use Pigments and Dyes for Custom Colors
Concrete doesn’t have to stay gray! With the right pigments, dyes, or stains, you can customize your vessels to match your brand or a specific aesthetic.
Ways to Add Color to Concrete:
- Powdered pigments – Mix directly into dry cement for even color.
- Concrete dyes – Liquid dyes blend easily and create vibrant tones.
- Surface staining – Apply acid or water-based stains after curing for a marbled or aged look.
Best Practices for Coloring Concrete:
- Use white cement for brighter colors—gray cement dulls the final tone.
- Mix thoroughly to avoid streaks or uneven coloring.
- Test small batches first—some colors dry darker than expected.
🔹 Example: If you love soft, pastel tones, try mixing titanium dioxide with your pigments to lighten and brighten the final shade.
Add a Marbled or Swirled Effect
Marbling gives concrete vessels an artistic, high-end feel. You can create soft swirls, bold streaks, or fluid color transitions with a few simple techniques.
How to Create a Marbled Look:
- Mix two or more colors separately and pour them into the mold at the same time.
- Gently swirl the mix with a skewer for a natural veined effect.
- Layer different shades by pouring in sections and tilting the mold.
- Use metallic or pearlescent pigments to add shimmer and depth.
🔹 Example: Want a dramatic black-and-white marble effect? Use activated charcoal for deep black tones and white concrete for a striking contrast.
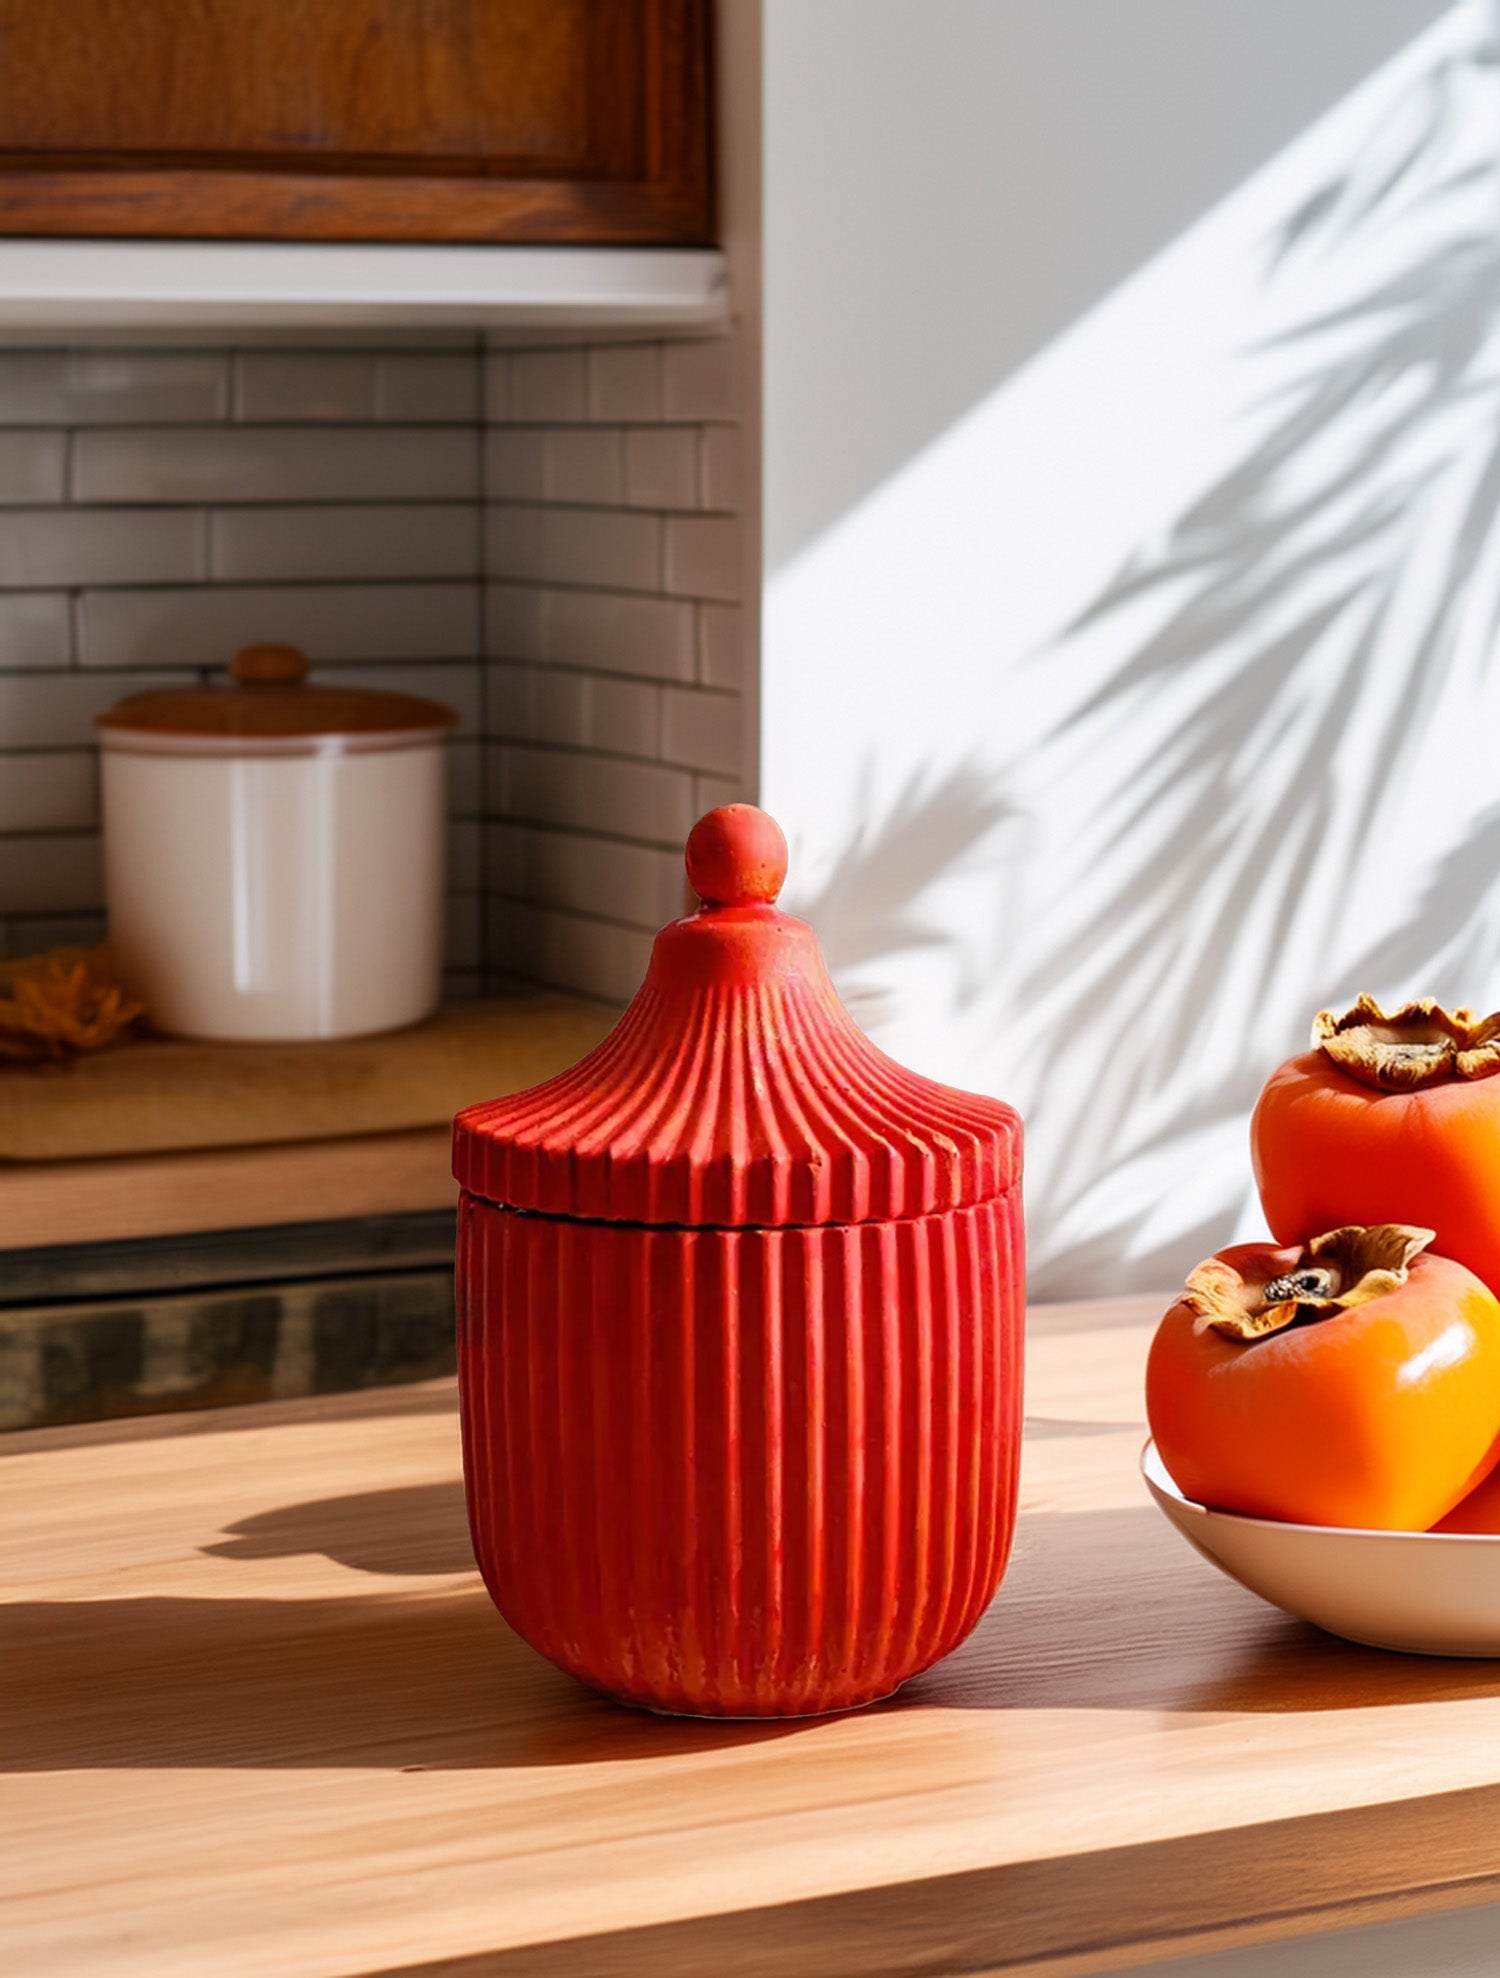
Incorporate Textures Like Stone, Sand, or Metallics
Adding texture to your vessels not only enhances their visual appeal but also makes them feel unique in the hand, adding to the overall sensory experience.
How to Add Surface Textures:
- Stone or sand mix – Use fine sand or crushed stone in your mix for a natural, rough feel.
- Salt wash – Press coarse salt onto the mold before pouring; once cured, rinse off for a pitted, aged look.
- Metallic foils or mica powders – Apply inside the mold or dust onto cured vessels for a luxe, shimmery finish.
🔹 Example: If you want a granite-like texture, mix in crushed quartz or granite dust before pouring.
Seal Your Vessels for the Perfect Finish
The right sealer enhances the look of your concrete while protecting it from wax and heat.
Choosing the Right Sealer:
- Glossy sealers – Best for polished or marbled finishes, but they can create a slick surface that may affect wax adhesion. If you're using a glossy sealer, consider lightly sanding the interior or using a wax primer to help the wax grip better.
- Matte sealers – Maintain a raw, industrial look.
- Tinted sealers – Slightly deepen the color for a richer tone.
🔹 Example: If you’re sealing a marbled vessel, use a satin sealer to enhance the pattern without making it too glossy.
Final Thoughts
Experimenting with textures, colors, and finishes can take your concrete candle vessels from simple to truly one-of-a-kind, setting your work apart from the rest. Whether you prefer a smooth, polished look, a raw industrial vibe, or a vibrant marbled design, there’s a technique for you. Try different approaches, tweak your methods, and most importantly—have fun with it!
What’s your favorite finishing technique? Share your experiences in the comments, and if you’ve tried any of these methods, post a photo of your work—I’d love to see what you create!
FAQ
What is a Plasticizer, and Why is it Used in Concrete?
A plasticizer, like Superplasticizer (Polycarboxylate-based or Naphthalene-based), improves workability by reducing the amount of water needed while keeping the mix fluid. This results in a denser, stronger vessel with fewer air pockets, making it ideal for candle vessels.
Is It Heat-Safe for Candle Vessels?
Yes, as long as you use a non-toxic, cement-compatible superplasticizer designed for high-strength concrete. Once fully cured, the plasticizer is chemically bonded into the concrete and does not pose a heat risk. However, ensure you're using a quality concrete mix rated for high temperatures.
🔹 Example: If your mix is too thick to pour smoothly, adding a polycarboxylate superplasticizer (like Sikament or MasterGlenium) helps create a fluid, pourable mix without weakening the vessel. This means fewer trapped bubbles and a stronger final product.
Do I Need a Plasticizer if I Use Cement All?
No, Cement All already contains a built-in high-range water reducer, so you don’t need an extra plasticizer. It flows well without needing additives like polycarboxylate or naphthalene-based plasticizers.
However, if you ever find your mix too thick or difficult to pour into molds, you can try adding a tiny bit more water (within the recommended ratio) rather than a separate plasticizer. The key is to balance workability without weakening the vessel.