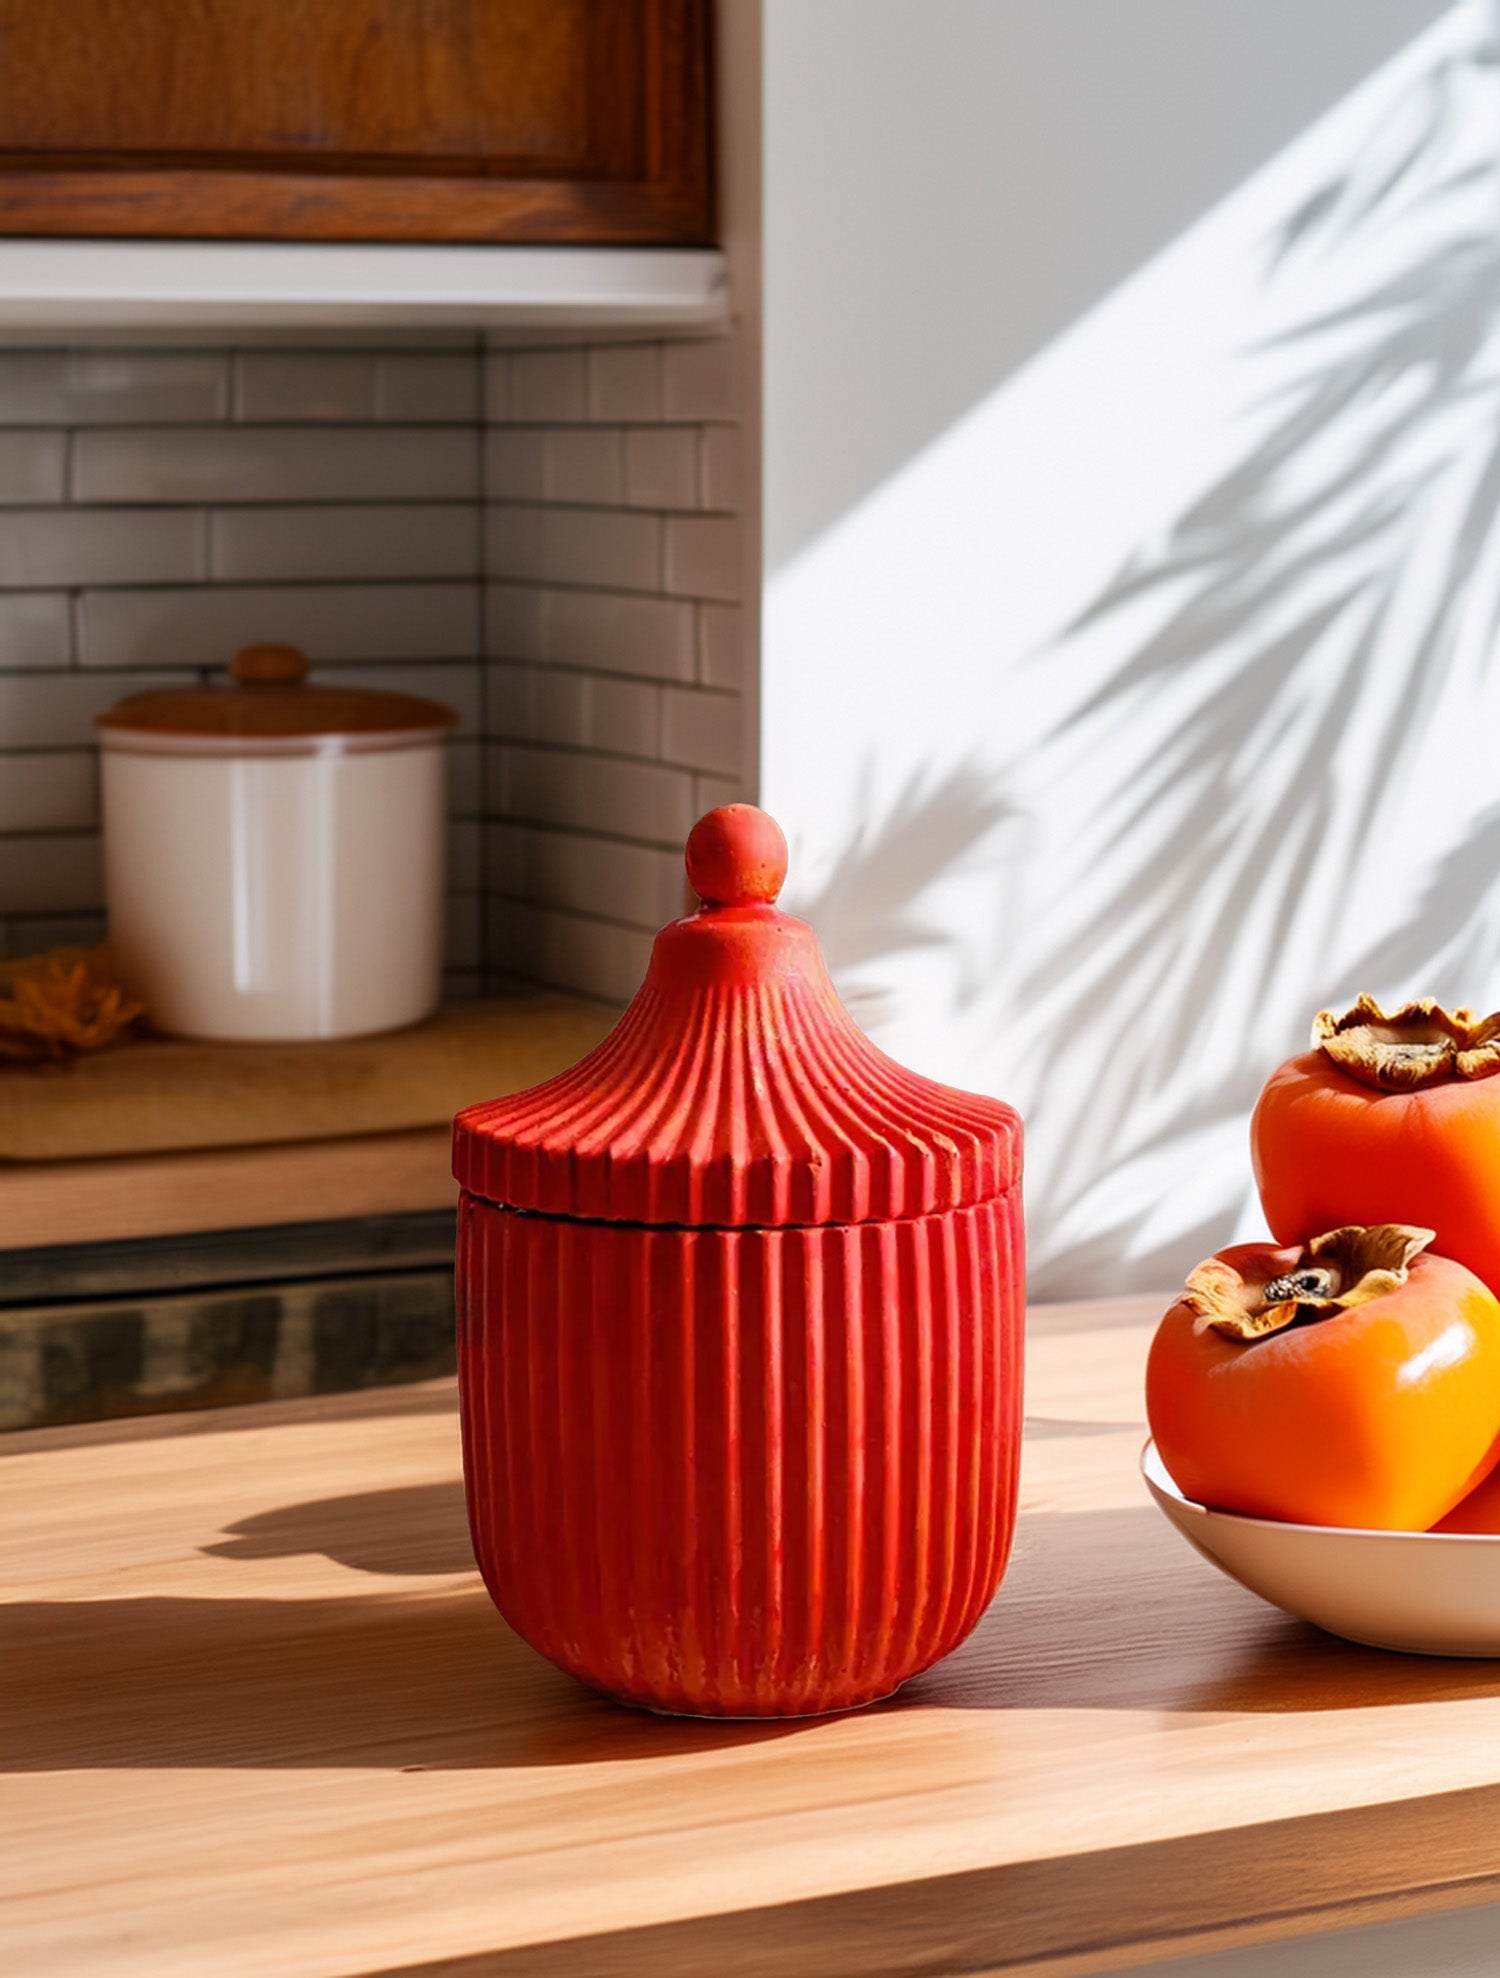

How to Prevent and Fix Common Issues in Concrete Candle Vessels
Share
Making concrete candle vessels can be incredibly rewarding, but it’s not always smooth sailing. If you’ve ever struggled with cracking, air bubbles, yellowing, or wax adhesion issues, you’re not alone. Concrete is a unique material, and even small mistakes in mixing, curing, or sealing can lead to frustrating results.
When I first started making concrete vessels, I had to learn the hard way—dealing with hairline cracks, wax pulling away from the sides, and discoloration after sealing. At first, I tried using more water in my mix to improve workability, but that only made my vessels weaker. I also sealed too soon, which led to trapped moisture and yellowing. After experimenting with different mix ratios, curing methods, and sealers, I finally found what works best.. But after countless trials and adjustments, I finally figured out how to make smooth, durable, and professional-looking vessels that hold up to heat, wax, and daily use.
In this guide, I’ll walk you through the most common issues and, more importantly, how to fix and prevent them. Whether you’re struggling with curing problems, sealant mistakes, or wax adhesion issues, I’ve got you covered!
Slow Down the Curing Process to Prevent Cracks
Cracking is one of the biggest frustrations for concrete candle makers. Imagine spending hours making a vessel, only to find a hairline crack after curing.
Why It Happens
- The concrete dries too fast, causing shrinkage cracks.
- Using too much water weakens the structure.
- Curing in a cold or dry room makes the surface brittle.
How to Keep Your Concrete from Cracking
- Cover your vessels with plastic wrap or a damp cloth to slow moisture loss.
- Measure your water carefully—too much or too little can ruin the mix.
- Cure in a stable environment—avoid placing vessels near heaters or vents.
🔹 Example: If you notice cracks forming within the first 24 hours, try misting your vessels lightly with water and covering them. This keeps them from drying too fast!
Mix and Pour the Right Way to Avoid Air Bubbles
Ever demolded a vessel only to find tiny holes ruining the surface? These air pockets are mostly an aesthetic issue, but they can also weaken the structure if too many form in critical areas. Those are air bubbles trapped in the concrete mix.
Why Air Bubbles Form
- Mixing too fast creates excess air.
- Pouring too quickly traps pockets of air.
- Not tapping the mold allows bubbles to stay in the surface.
How to Get a Smooth, Bubble-Free Finish
- Mix slowly and steadily to reduce air entrapment.
- Tap your mold on a flat surface after pouring to release bubbles.
- Use a vibrating surface (like tapping the table or using a palm sander against the mold) to help air escape.
🔹 Example: If you’re making a batch and keep seeing bubbles, try lightly shaking your mold or gently tapping it on your workbench for a few extra seconds.
Use the Right Sealer to Prevent Yellowing
You finally got the perfect white concrete finish, only to watch it turn yellow over time. Frustrating, right?
Why Sealers Cause Yellowing
- Some low-quality sealers discolor when exposed to heat.
- Thick applications can trap moisture, leading to uneven color.
- Using a non-heat-resistant sealer allows candle heat to alter the surface.
How to Keep Your Vessels Bright and White
- Choose a non-yellowing, heat-resistant sealer like H-Seal or Eco Advance.
- Apply thin layers and let each coat dry fully before adding another.
- Always seal dry vessels—moisture trapped under sealer can cause blotchy discoloration.
🔹 Example: If your vessels are turning yellow near the wick area, your sealer might not be heat-resistant enough. Try switching to a high-heat formula.
Use the Right Sealer to Prevent Yellowing
You finally got the perfect white concrete finish, only to watch it turn yellow over time. Frustrating, right?
Why Sealers Cause Yellowing
- Some low-quality sealers discolor when exposed to heat.
- Thick applications can trap moisture, leading to uneven color.
- Using a non-heat-resistant sealer allows candle heat to alter the surface.
How to Keep Your Vessels Bright and White
- Choose a non-yellowing, heat-resistant sealer like H-Seal or Eco Advance. These sealers are specifically designed to withstand high temperatures, preventing discoloration and maintaining the integrity of the vessel over time. Unlike generic concrete sealers, they offer both protection and a breathable finish, ensuring that wax adheres properly without causing unwanted reactions.
- Apply thin layers and let each coat dry fully before adding another.
- Always seal dry vessels—moisture trapped under sealer can cause blotchy discoloration.
🔹 Example: If your vessels are turning yellow near the wick area, your sealer might not be heat-resistant enough. Try switching to a high-heat formula.
Improve Wax Adhesion by Prepping Your Surface
Wax that won’t stick or causes “wet spots” on the concrete? That’s a common frustration.
Why Wax Doesn’t Stick Well to Concrete
- Some sealers create a slick surface, preventing wax from bonding.
- Residual moisture inside the vessel repels wax.
- Unsealed concrete absorbs too much wax, causing uneven distribution.
How to Get Perfect Wax Adhesion
- Use a matte, absorbent sealer instead of a glossy one.
- Let vessels cure completely before pouring wax.
- Warm up the vessel slightly before pouring—this helps the wax bond evenly. You can do this by using a heat gun on a low setting, placing the vessel near a warm surface, or briefly preheating it in a low-temperature oven for a few minutes.
🔹 Example: If your wax is pulling away from the sides after cooling, try lightly sanding the interior or switching to a more breathable sealer.
Create Stronger, More Durable Concrete Vessels
The key to long-lasting, professional-quality candle vessels isn’t just in the mix—it’s in the process.
Best Practices for Professional Results
- Measure your ingredients carefully—a consistent mix means stronger vessels.
- Use high-quality cement—cheap materials lead to weak, brittle vessels.
- Test different sealers—find the best one for your aesthetic and function.
- Be patient—rushing the process leads to mistakes that can ruin your hard work.
By following these steps, you’ll make beautiful, durable, and functional concrete candle vessels every time. If you’ve run into any of these issues, try these fixes and see the difference!
Have you encountered any of these issues while making concrete candle vessels? What worked for you? Share your experiences, tips, or go-to fixes in the comments—I’d love to hear what’s been successful for you!